With the latest version of the application (1.4.4.4) I made a youtube video showing you step by step how to create a book with a tablet. The following tutorial howver still covers all the features you see in the video.
At present you can create a book only with a tablet. I'm about to create a web site for the building of books on any PC with a browser.
To create a book we need to prepare the environment just a little. As an example, I'll show you how I create the book of "l'orchetto smemorato". The steps involved are as follows:
Identify the story and translate it in symbols with paper and pencil. For simplicity I get a book made available by the Don Milani school of Prato made by Lucia Chirici. All this part , I mean to translate a story into symbols, simplifying the text, choosing the images of the characters, choosing images of outline and build the storyboard, is the more complex. If it is for personal use, the best and easyer way is to start from books in symbols or standard books and use their images, otherwise you should have the consent of the author or the publisher or, if you are a good drawer, made drawings of the characters by yourself and / or use images free of any copyrights. At the end of this step you will have (printed or handwritten) a storyboard of the story.
Gather all the images that will be used in the book (scanning them, creating them by yourself if you can, looking for free pictures on internet) that are not part of the ARASAAC library and transfer them to a folder on your tablet. For example you'll need pictures of the characters and other story images. Therefore in my tablet I have got the folder "orchetto smemorato".
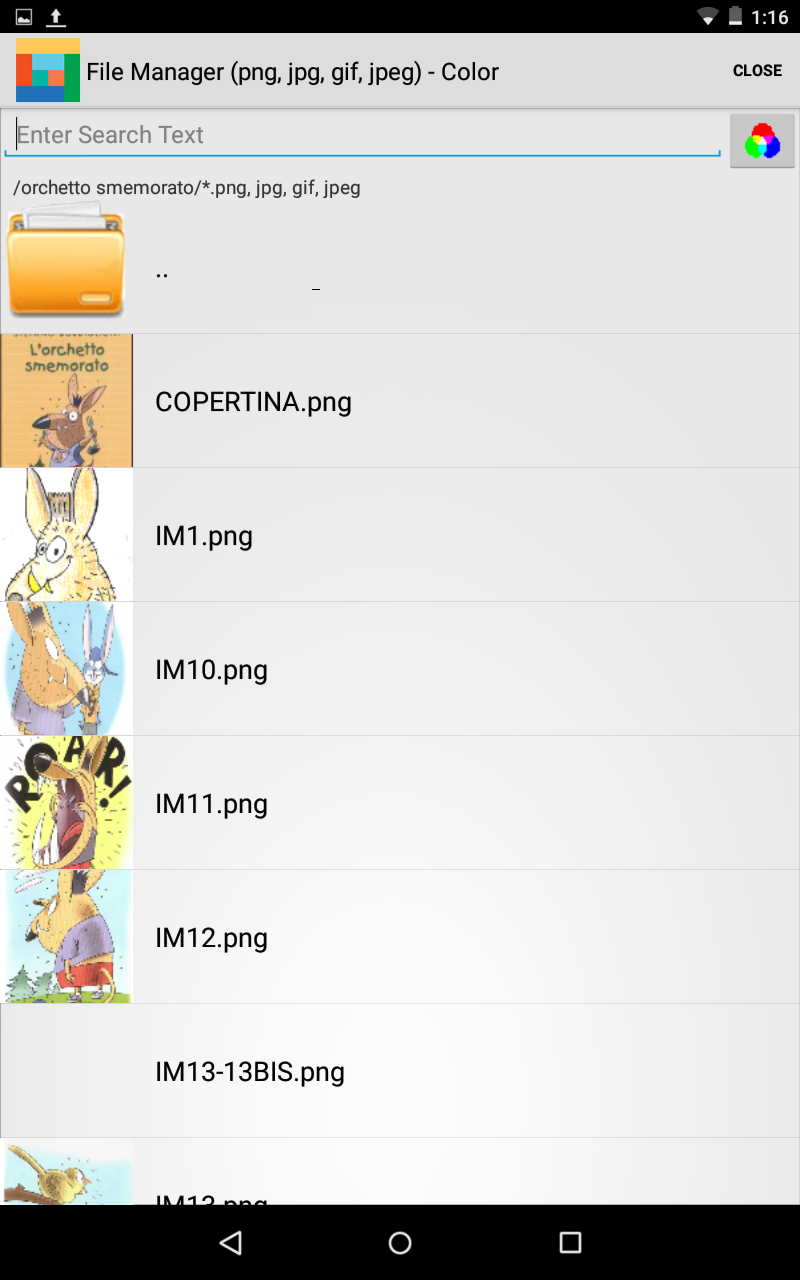
Now we index these images so you can easily search through during the creation of the book. As we saw in the previous tutorial, from the main menu press INDEXING IMAGES and select the folder (in my case [sd card] / orchetto smemorato). If you list the contents of the folder, there are pictures of the characters and other pictures numbered in order that I'll use as describing images. Press indexes INDEX IMAGE NOW and go back.
Remember to enable Auto Image Index to simplify text writing.
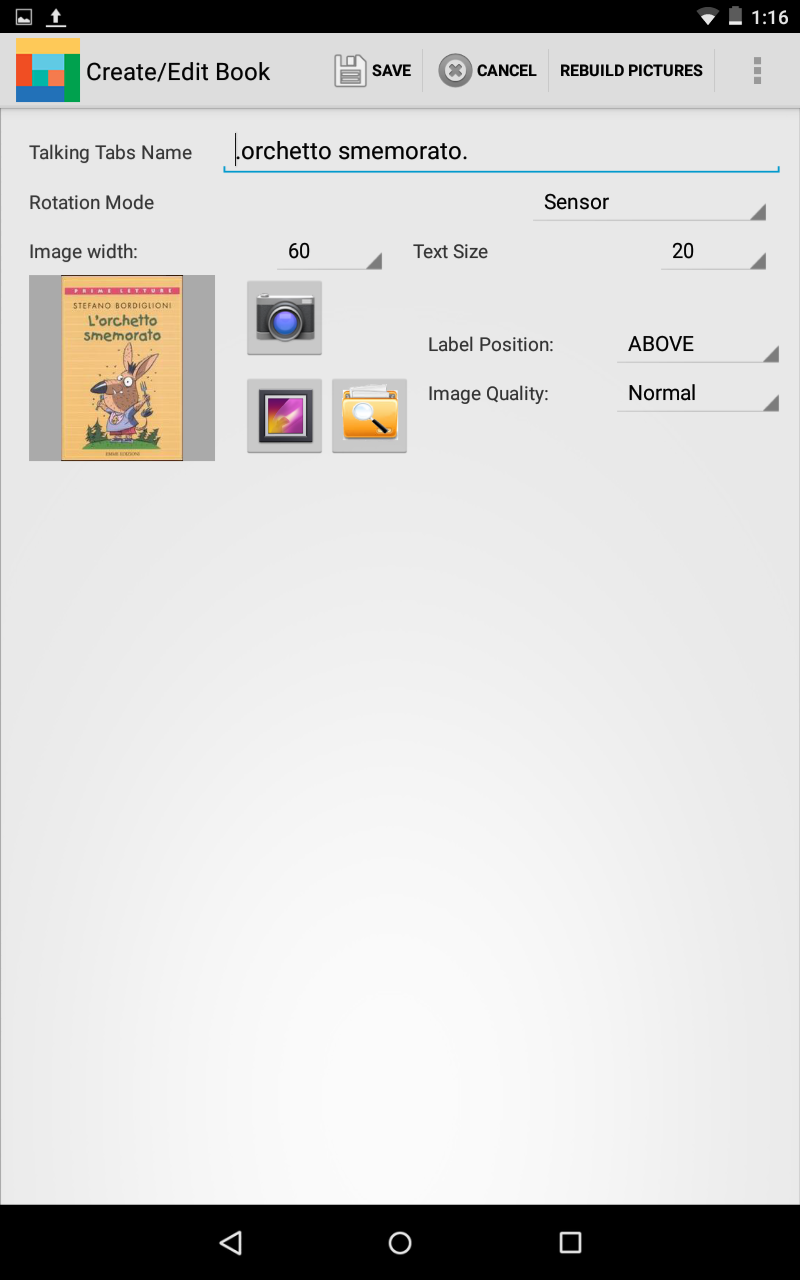
From the main menu select New Book, type the title, select the image of the book looking for, in my case, "Hansel", set the label in above position and press Save.
At this point the environment is ready so let's start writing the book. With a long tap on the book we open the context menu; select Edit.
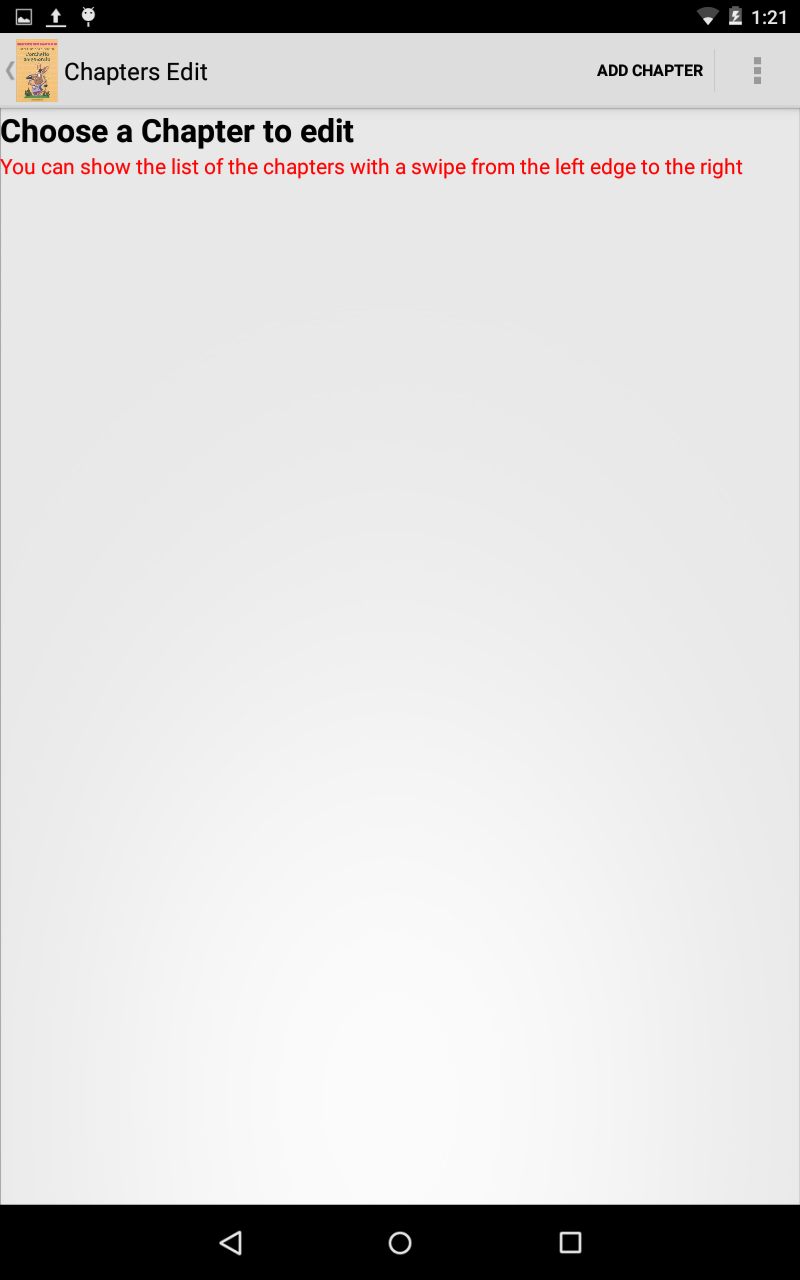
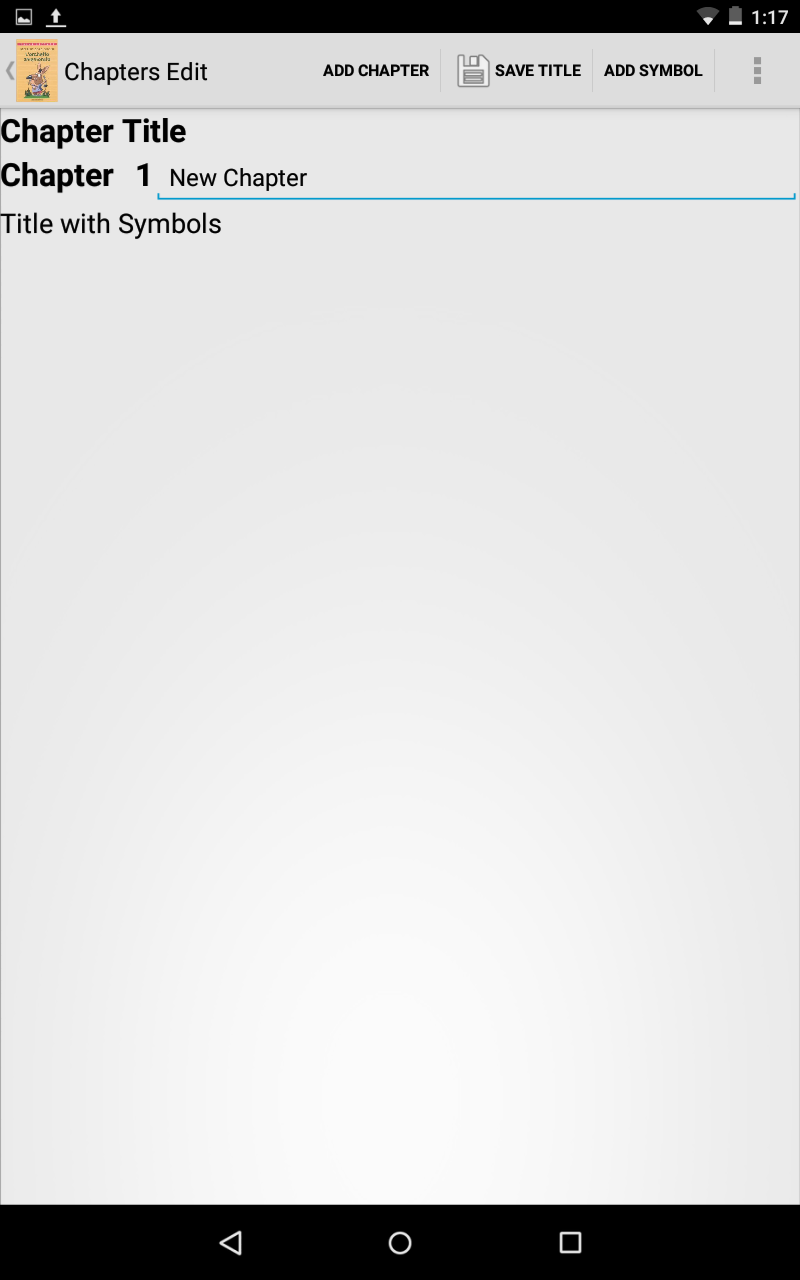
The book is divided into chapters. First we add a chapter with the menu item ADD CHAPTER. If you open the chapter list on the left via a Swype from the left edge toward the center, it just appears the chapter created. I tap on the chapter and then begin the process of writing the title. The menu has the following items:
Add Chapter: adds a new chapter
Save Title: actually save just the text of the title written in letters.
Add Symbol Title: adds a placeholder to insert images that make up the title of the chapter.
Rebuild images: if you have changed the image dimension value, you can rebuild the images to optimize their sizes.
Print: you are able to use the android printing system. Usually you can print on any print device you have installed or even to save it to pdf.
Colored and B/W Arasaac: you can switch from Color to B/W arasaac images and viceversa
Write chapter: use it to write the actual text of the chapter, in symbols
Drag N Drop OFF / ON: used to activate / deactivate the drag and drop feature. Editing books is somewhat different from what happened in the image editing in tables. I will explain in detail later.
Join Chapter wigh --> Next Chapter/Previous chapter: the chapter that we are editing is joined at the end of the previous or at the beginning of the next one. The current chapter title is lost.
Delete Chapther: the chapter is completely deleted, you can no longer retrieve it. Use it with extreme caution.
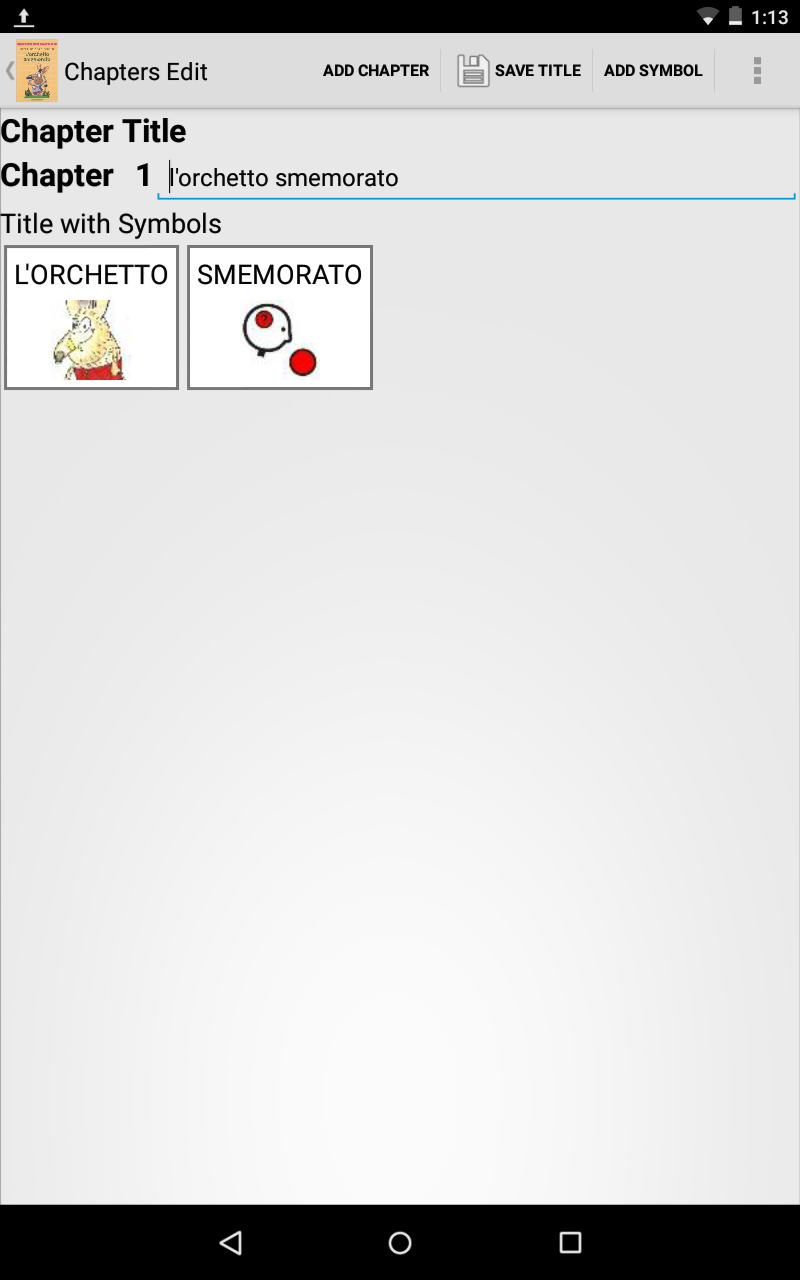
The title written in text, not in symbols, is only for the author of the book, it'll be useless during playing the book. So we use the menu item Add Title Symbol to add a couple symbols
Inserting images
For books adding image is slightly different from what happened with the tables.
First of all, by pressing ADD SYMBOL, always visible in the action bar, you go directly in image editing. In order to modify a symbol, to speed up the writing, a single tap opens the placeholder edit (while editing table we had to make a long tap). The long tap has two different functions depending on the menu item Drag N Drop:
If Drag N Drop is set to OFF it opens the context menu with:
Delete
Edit
Insert image in the current position
Split: the chapter will be split in two, starting from the current position.
If Drag N Drop is set to ON the long tap activates the drag and drop function.
So let's edit the image and see what we have to do;
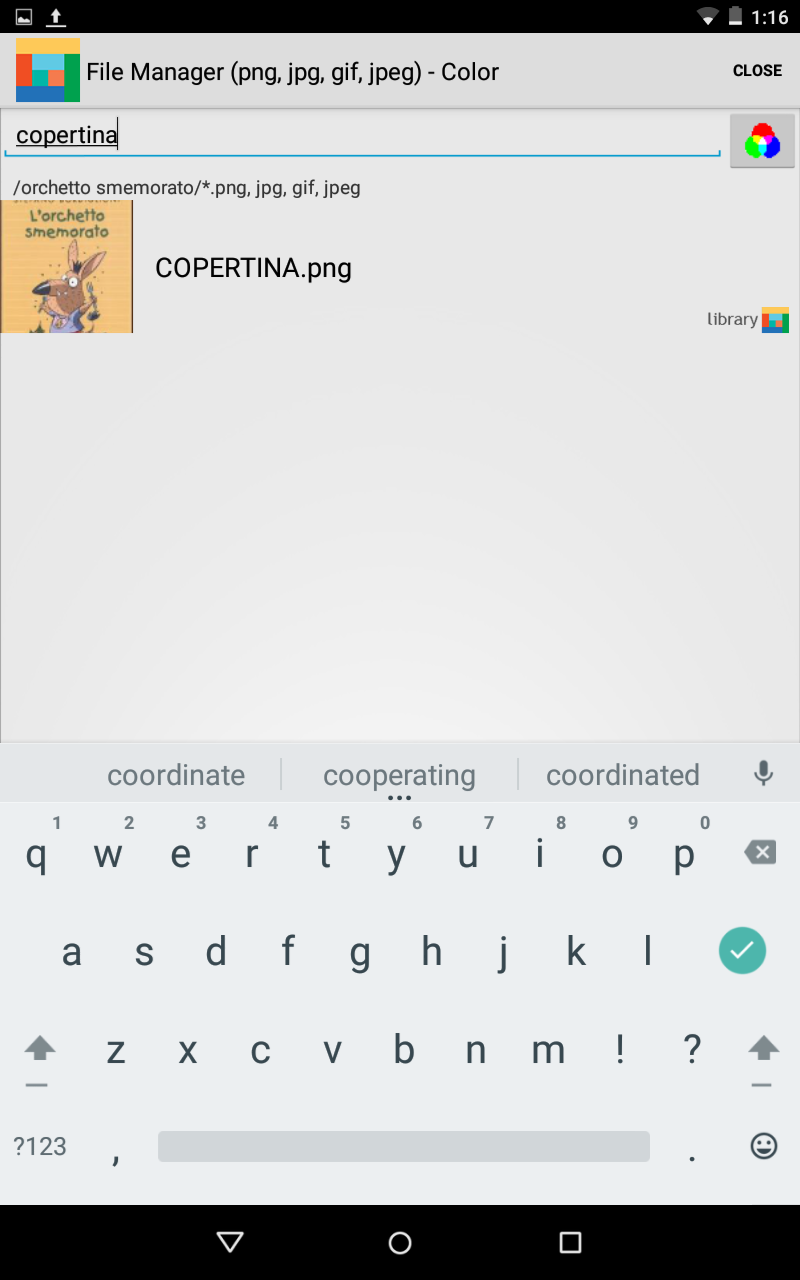
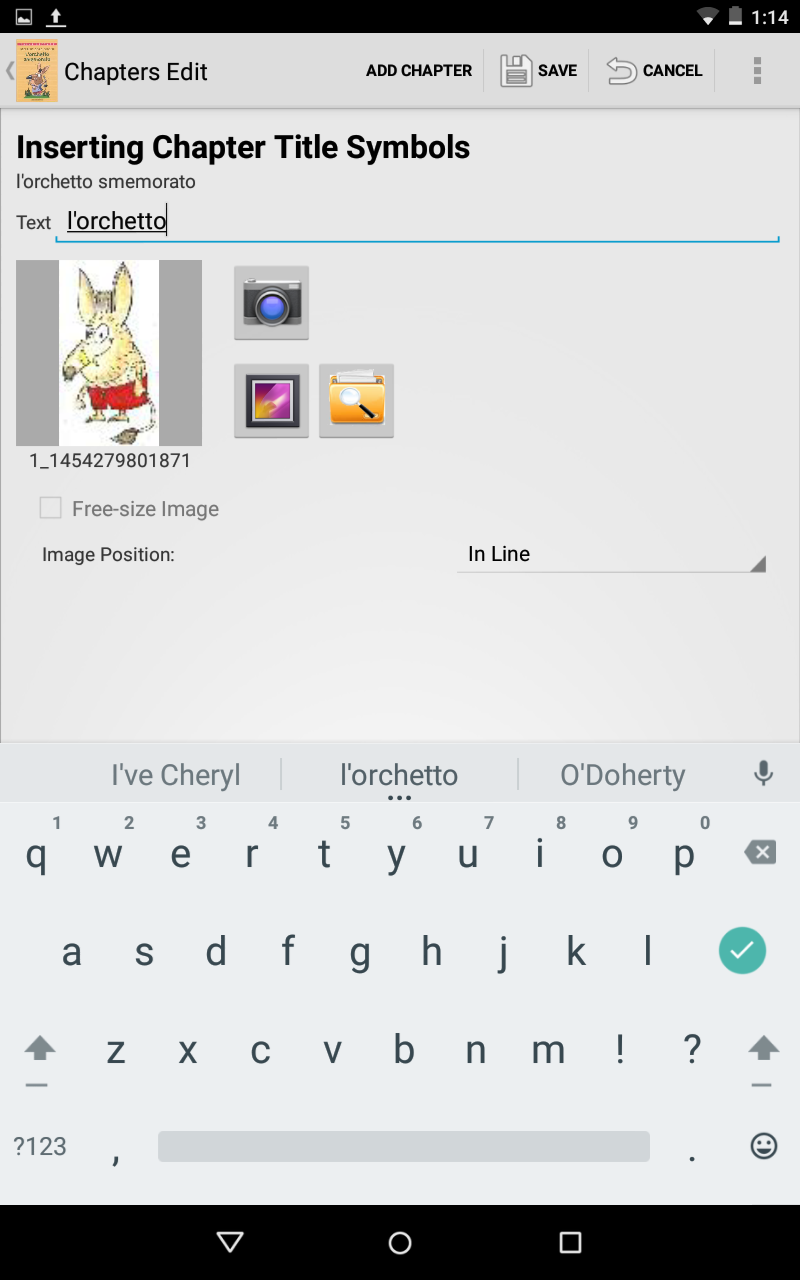
I choose the image via the file manager looking for Zannalunga (that's how I named the star of the book and that'w how is indexed)
I write in the image name "L'orchetto"
Save it!
To write the title we do not need anything else. Just repeat the process and also insert Smemorato.
Writing the chapter
As we have finished to write the title in symbols, let's write the chapter text selecting the menu item WRITE CHAPTER. Via the menu, you can then:
Add a chapter
Add a symbol
Rebuild Images
Print
Colored and B/W Arasaac
Drag N Drop OFF / ON
Back to the Chaptertitle
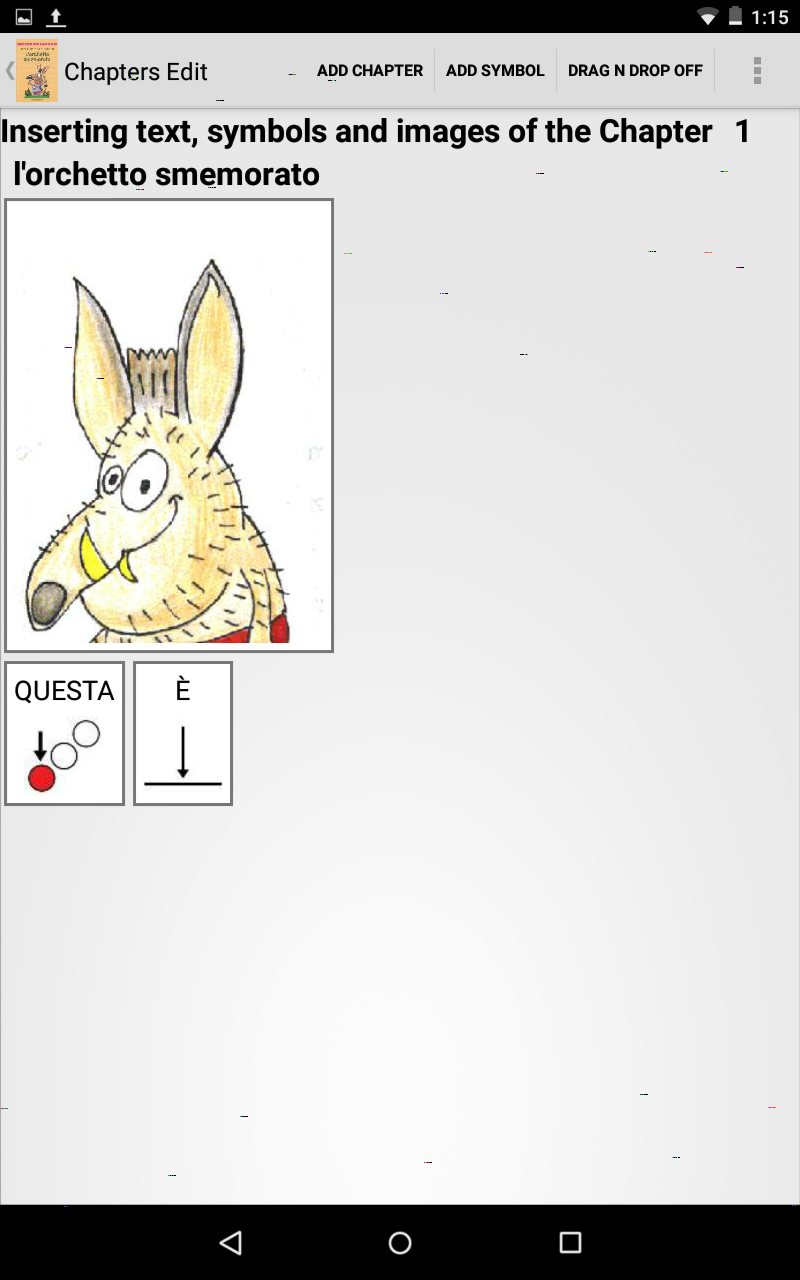
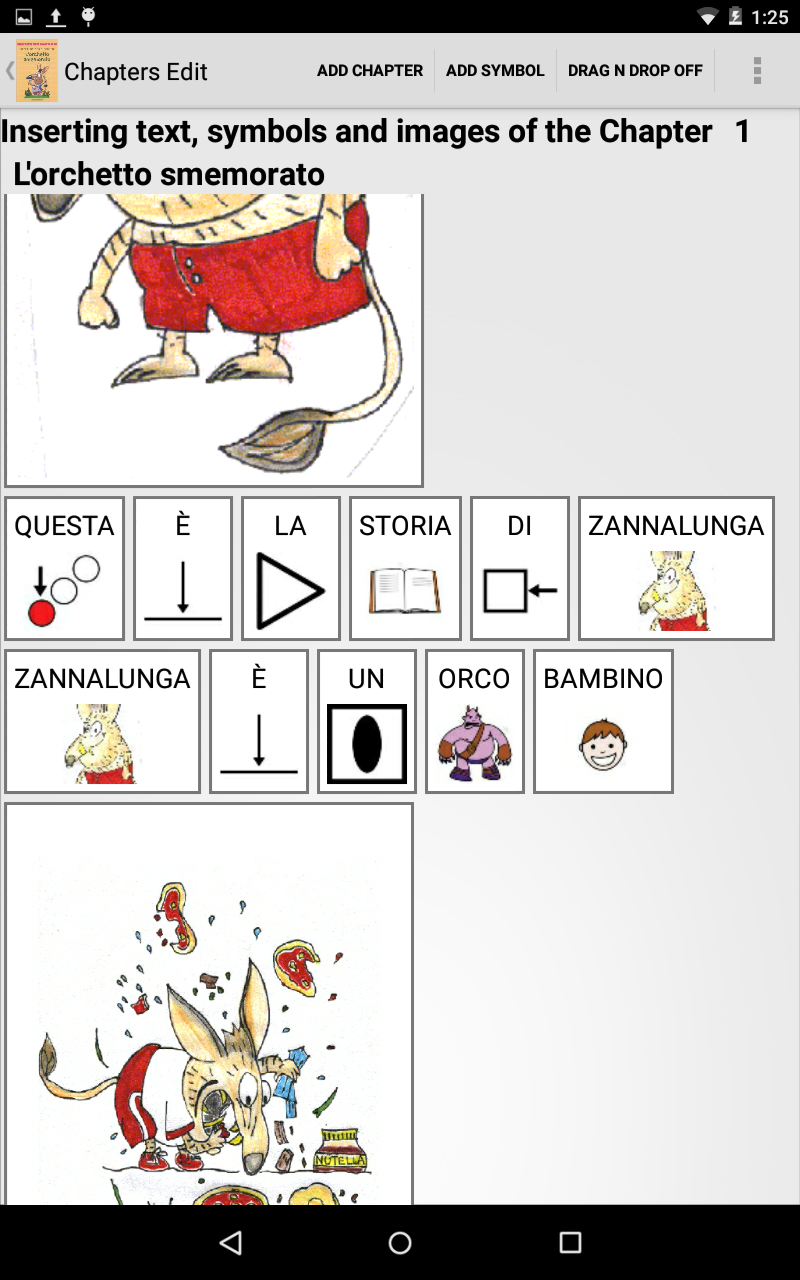
We have to write "questa è la storia di zannalunga" (this is the story of longhorn). These are the steps:
I press ADD SYMBOL
I check for free-size image
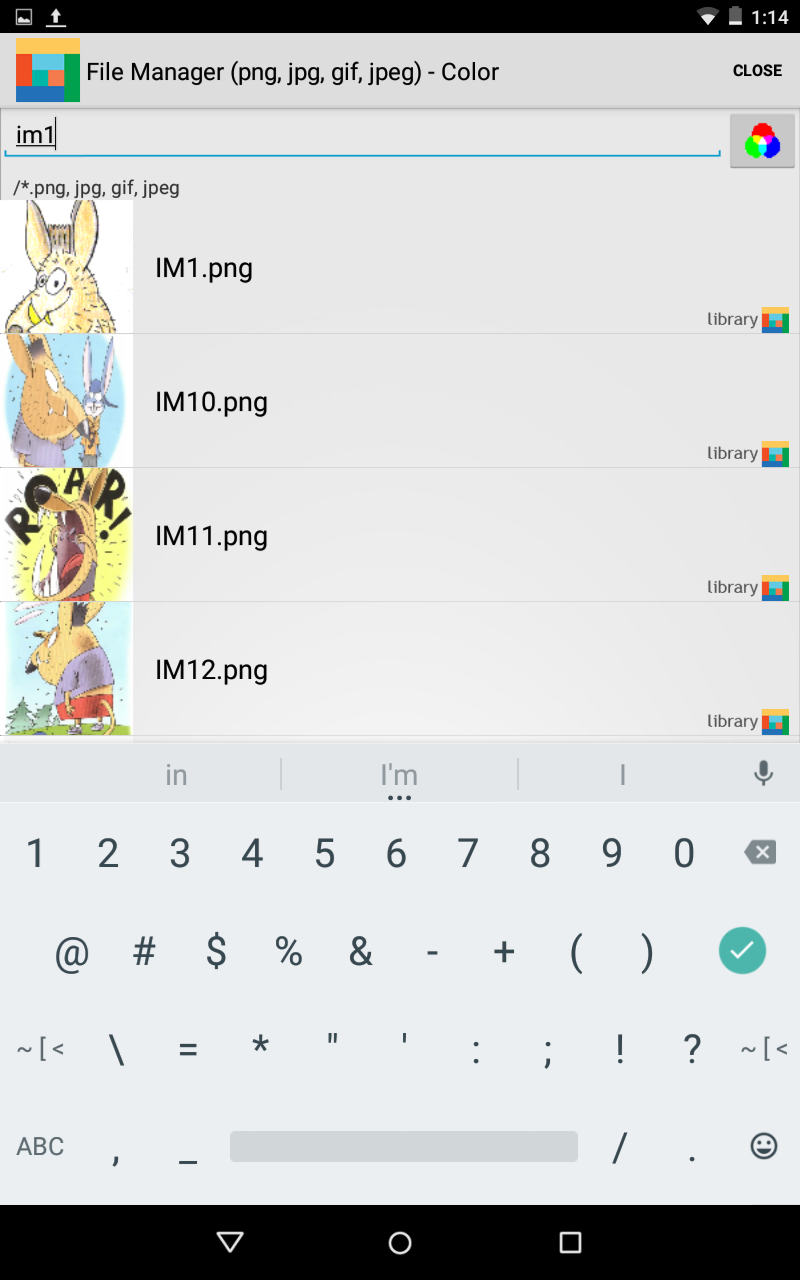
I open the file manager to get the first pictures looking for "IM1" (that's how I've named those free-size images)
I choose for the correct image
I choose the size for this free-size image
I press SAVE
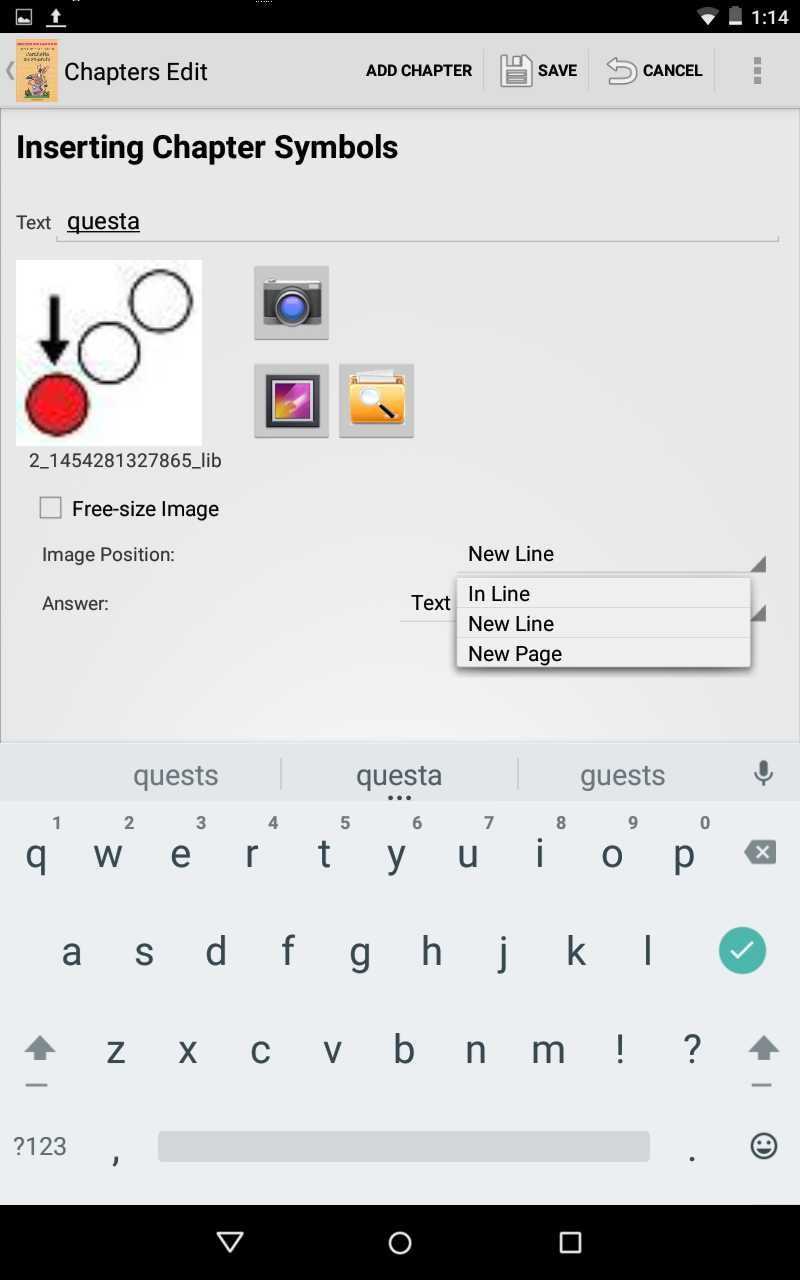
Now I insert the symbol "questa" (this):
I press ADD SYMBOL
I write on Text "questa"
I open the file manager and I've got my image at first position, beacuse the text I've inserted is used as search text
I choose the image
I press SAVE
That's it. It's quite fast because most of the words I write on the Text are exactly what I'm looking with the file manager, arasacc library or the images I've just indexed. Sometimes may be not like this, but with some pratice you'll find very easy and fast to build books.
Let's take a look also to the other options:
Symbol Position: allows you to set the current symbol in line, at new line, or at new page
Answer: In this case we are interested in that is set as text image because we don't need tocreate a verification form. We will see it later.
Pictures Dimension: visible only when you add a free picture. The free image has always as a symbol position as new line.
On the last image you can se what happen if you press the Print menu item